Electrons: The Adafruit Trinket first experiments
So my journey starts with a trinket
I’m going straight into the deep end here - no maths, not circuit theory, just a relatively cheap little board with a usb socket, some holes to connect things and some LEDs. The idea is that you program the on board micro controller to do things with the some of its pins, either use them to turn thing on and off - or to listen to things connected to them, and make decisions based on that.
The little board cost quite a substantial £8.70 - more than my budget for each of these experiments - but I really wanted to get right in there and start experimenting.
It comes with some header pins to make connections easier - but first of all I need to plug it in..
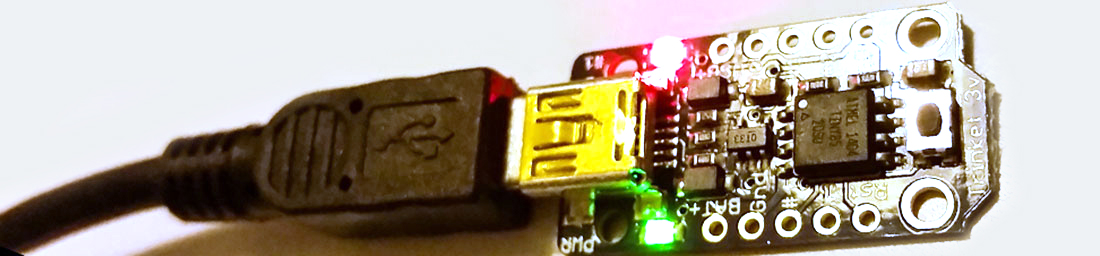
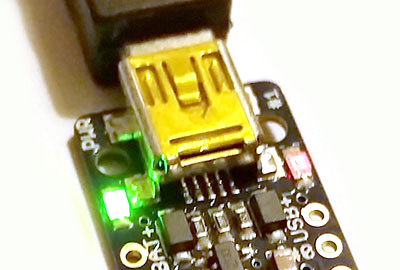
The board has two LEDs built in, a green one and a red one. When connected to USB computer, the green is supposed to light, and the red one pulse. I plug the board into my mac using a mini-usb cable I had and don’t get the pulse, just a dim, bored pathetic little light:
After a sleep and a while worrying through the Adafruit training section I have an epiphany. It says that the led should pulse when connected to a usb host - not necessarily just usb power. The lead I was using was suspiciously thin, which might mean it was only a power lead.
I’ve spent hours failing to connect an android phone to a mac for similar reasons.
So I swap out the lead for a decent mini usb, plug it in and the pulse starts as shown in the picture at the top of the post. Result!
I’m using a mac and that makes programming the chip slightly easier - it doesn’t need any drivers.. So here is what I did next:
- Downloaded and installed the software to program the Trinket (Adafruit Arduino IDE (OSX) here). From now on I’ll call this the ‘IDE'. I had to tell my mac to allow the software to run - as it evilly has not been blessed by Apple.
- From the Tools Dropdown of the IDE, in the Board section, set the board to Adafruit Trinket 8mhz. Then in the Programmer section select USBTinyISP
- Then you paste the following Blink code* (like Hello World but with lights!) into the IDE.
int led = 1;
  void setup() {
    pinMode(led, OUTPUT);
  }
  void loop() {
      digitalWrite(led, HIGH);
      delay(1000);
      digitalWrite(led, LOW);
      delay(1000);
  }
It should now look like this:

*Just a quick note. I’ve removed all the comments from the blink code - I just wanted to get this out there and working. The original code can be found on the Adafruit site (scroll down a lot to find it).
- Now we send this program to the Trinket. But you can only do that if the red light is pulsing and by now its stopped. But on the Trinket there is a small reset switch - so press that - and quickly click on the right pointing arrow on the IDE. After a bit of stuttering of the lights on the Trinket it all calms down and the red light begins to flash.
Bingo.
If this didn’t work then the Adafruit site explains some things to check - also how to set up the IDE in windows as well. Also if you have wired up things wrong you may hear a hissing or a sizzling. There may even be smoke! Probably best to turn thinks off if thats happened with yours.
On a roll now but I wanted to program something! So in the code above I messed about with the delay lines by knocking a zero from the 1000 delay. Once done - you can simply press the trinket reset button and then the upload button on the IDE to experiment with your new code. Altering the delay just made the red led flash quicker.
I'll blog about my first proper program soon
15-Nov-2014 Add comment
blog comments powered by Disqus Permanent Link