A Raspberry Pi in a flight case - Part 2
Powering the Pi and connecting everything inside
Once the screen got sorted out I now started to mount the rest of the parts within the case. But straight away I was faced with he problem of how to power it. The usb socket of the pi is all well and good - but I also needed 12v for the screen. I had considered tracing the power into the screen to see if it dropped from 12v to another voltage closer to the PI. I was then thinking that I might build a regulator board inside and pipe 12v in via a barrel plug.
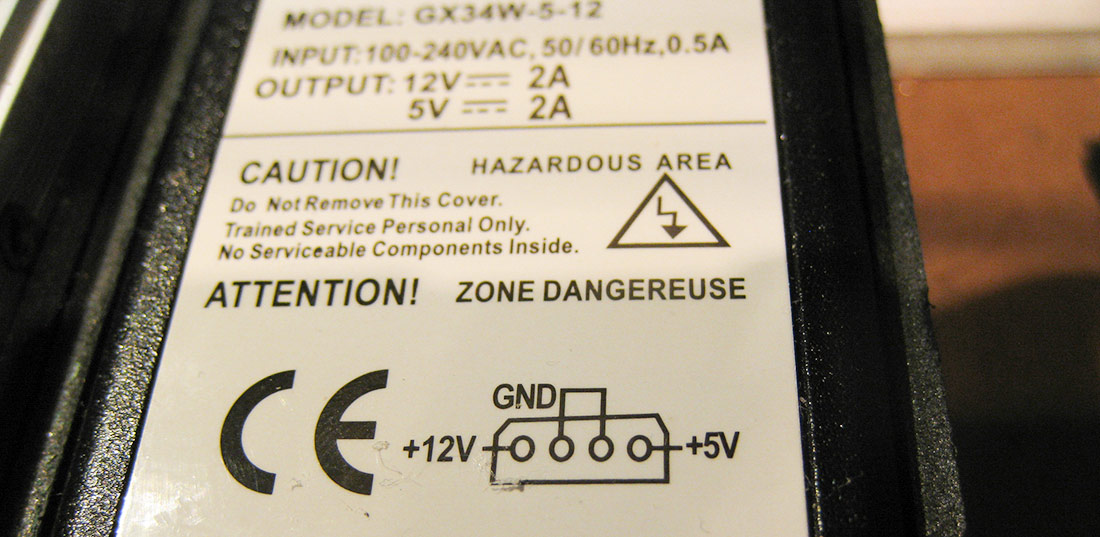
As I never intended this to be a battery project, in the end I found a dual voltage power brick which solved all my problems.
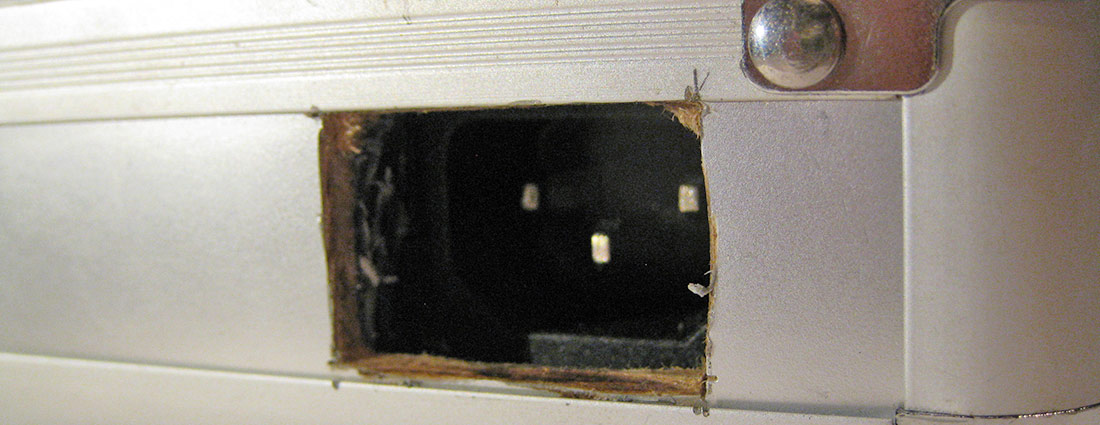
The brick fitted nicely in the case and I built up foam board around it to hold it in place whilst still allowing it to be removed. I then cut a hole in the outside of the case to allow a mains plug to be inserted from the outside.
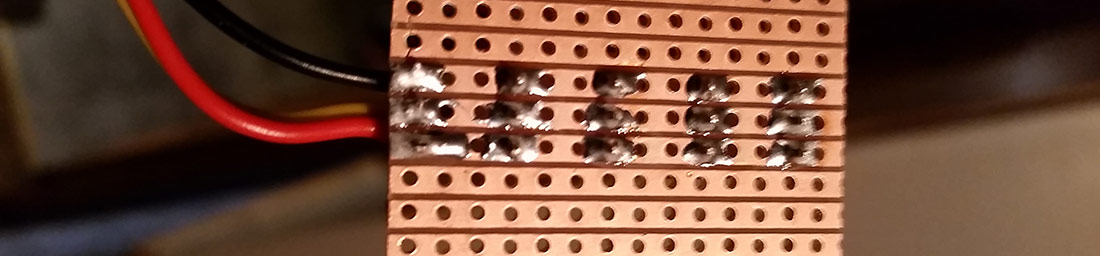
The power brick came with a molex plug which I cut off quite quickly and used a multimeter to establish what voltage was on each of the strangely coloured wire. The plan was to use a common bus within the case to provide both the 5 and 12v voltages. I wanted something that I could easily use small plugs on so that I could connect and remove components at will. In the end I came up with this design which is connected directly to the output of the power brick:
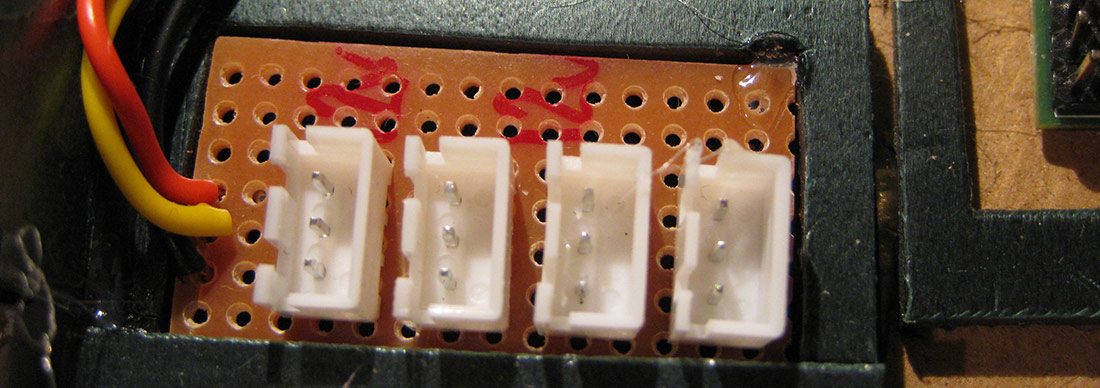
You can see that there are three wires coming from the PSU which attach to the rails of the perf board, forming a power bus to each of the sockets.
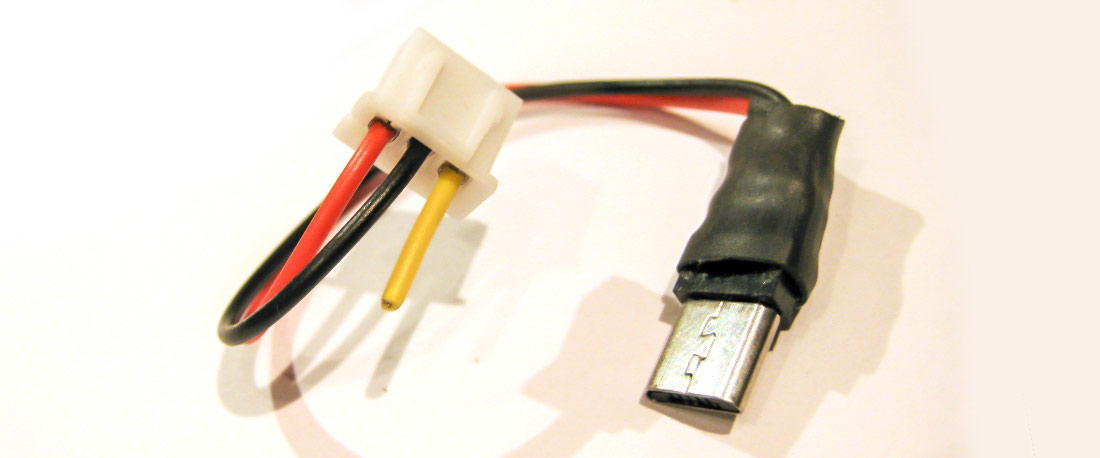
The wires were not coloured like I would have expected - the yellow being ground, the red 12v and the black 5v. I wired it in such a way that the plugs I put into these sockets would have colours like I would expect, Yellow being 12v, Red 5v and black ground. When I am making up a lead to connect to one of the internal components I cut off the site for the voltage thats not required. So here are a couple of examples of 5V cables I use. This is to power the internal USB HUB:
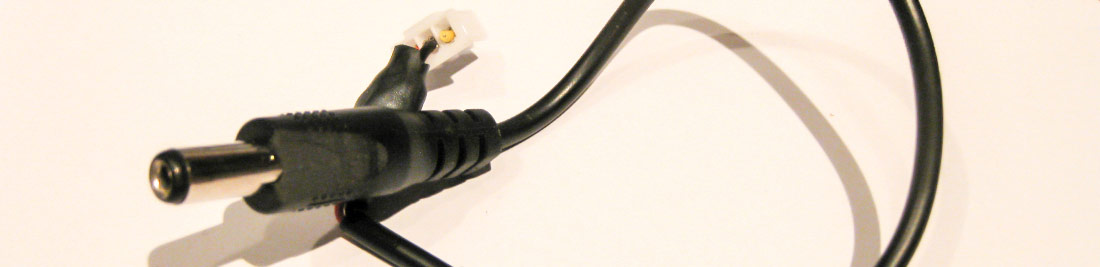
And this was the cable to power the pi, which in the end I realised I didn’t need as the connection to the USB HUB to the Pi supplied power directly.
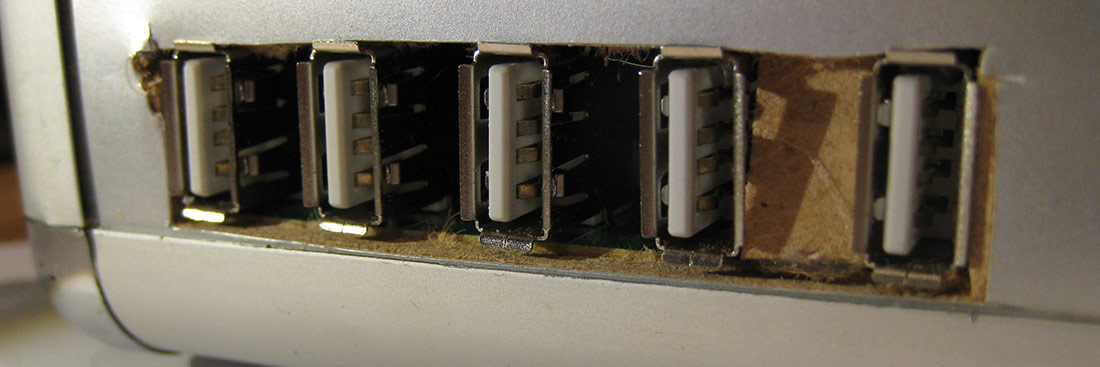
Here's the USB Hub I used. I found one which had a power socket, but also sockets on both sides of its case, so that I could have both internal devices and external. I removed it from its plastic case to give me more room.
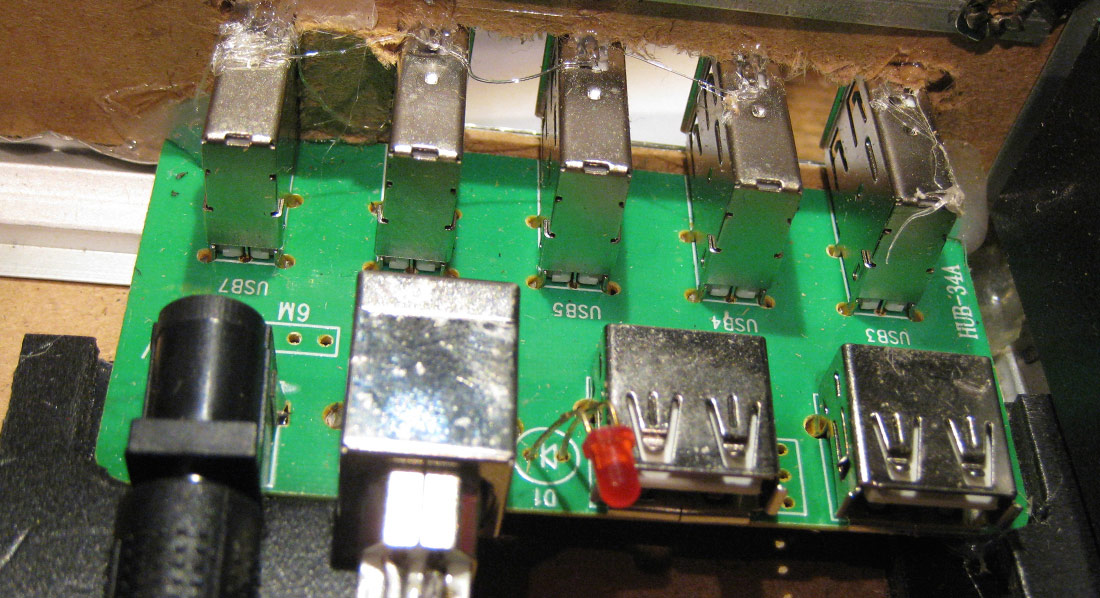
Again I cut a hole in the case to allow access to these external USB sockets:
As there was not a lot of distance between the Pi and this USB HUB, I wanted a custom USB A-B cable to connect them. I first of all was going to buy the connectors but they were much more expensive than a lead - so I cut all of the moulded plastic off the cable and made a very small light version:
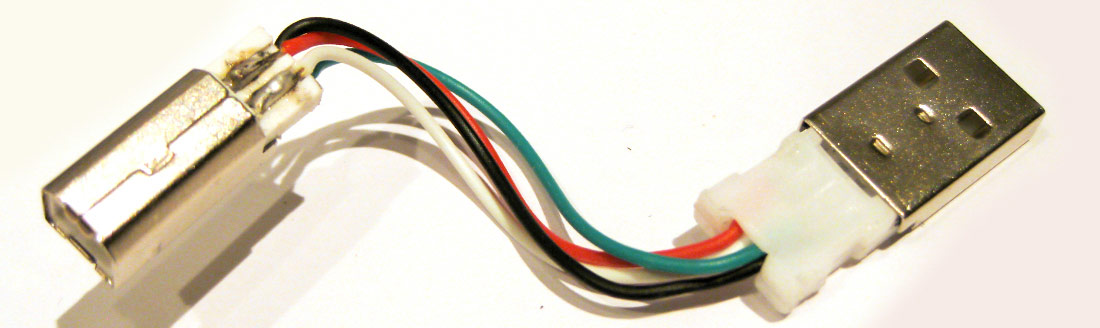
I was very pleased with this solution.
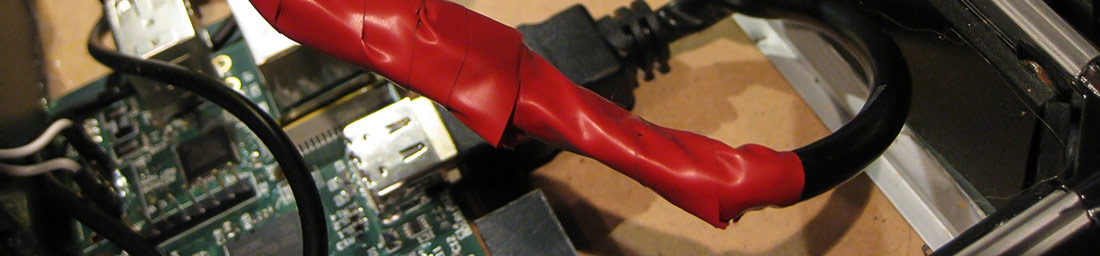
Here is a rough photo of what the bottom half of the case looks like with what I’ve described so far. Although I was happy with the lead above, I’m not so enamoured with the HDMI lead below which looks a bit of a mess:
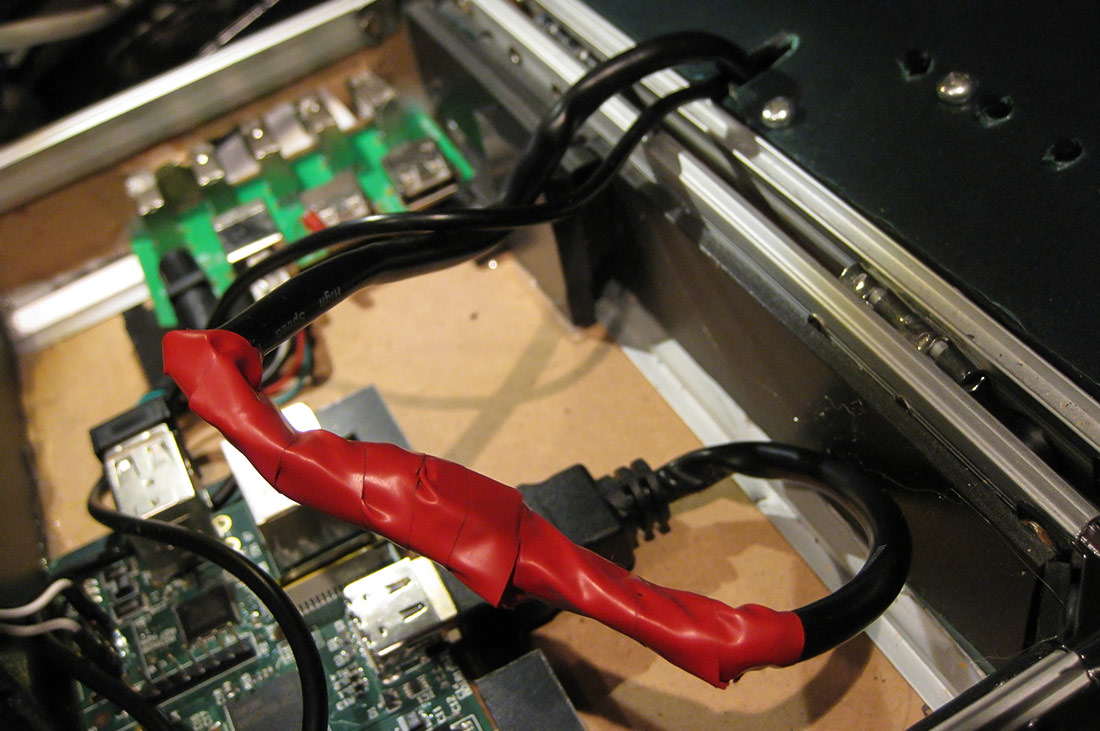
I had to cut the cable and re solder it to shorten it enough to fit under the top lid of the box, and its the only part which I’m not happy with. I had, however, been warned about how hard it was to solder HDMI connectors, so cutting this and soldering the original wires back together was an easier option. I never ever want to have to do that again though.
In my next post I will show you what I did with the keyboard and sound options and complete the build.
14-Aug-2015 Add comment
blog comments powered by Disqus Permanent Link