A Raspberry Pi in a flight case - Part 3
Keyboard sound and putting it all together
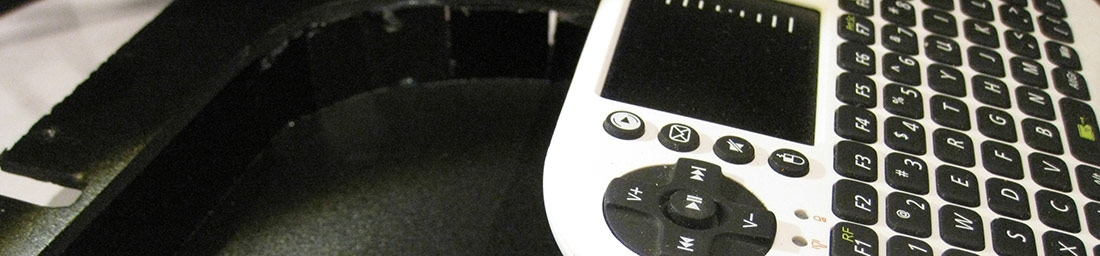
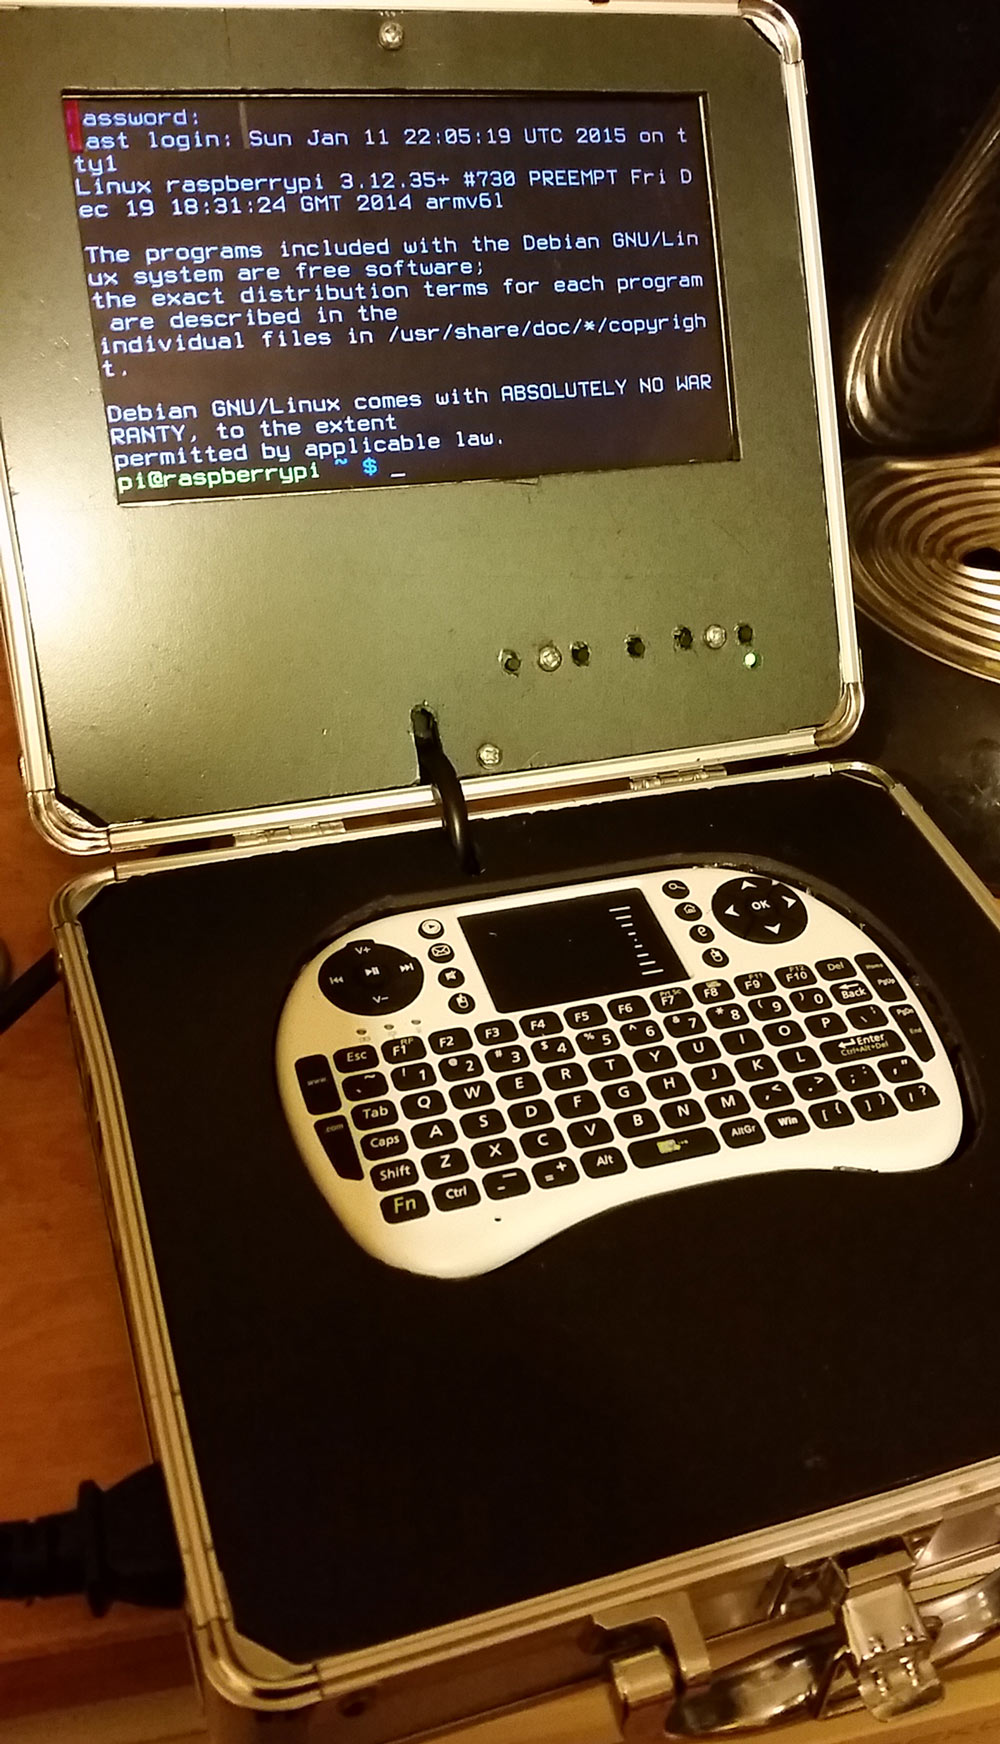
Again I thought for a while as to how to mount a keyboard into the case as well as what keyboard to use. I'd got the external USB so that was fine to plug a standard one into, but wanted a more portable solution. In the end I found a small wireless keyboard which also had a trackpad and fitted well.
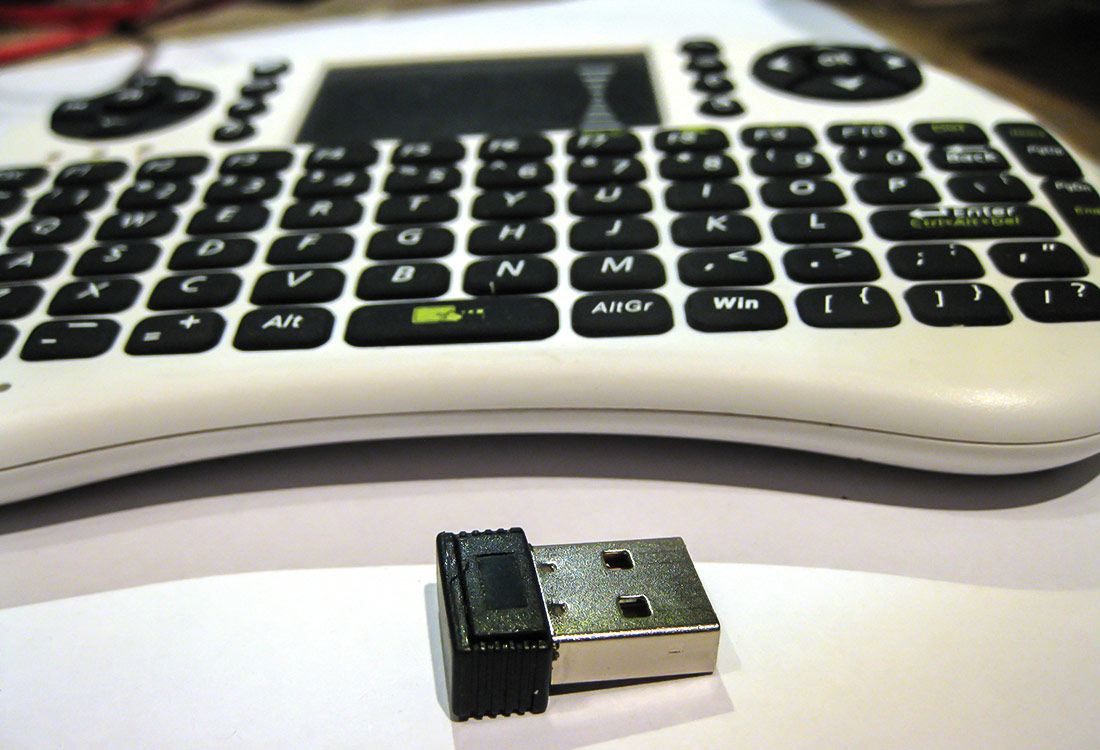
The keyboard came with a small usb wireless transmitter which I could have plugged permanently into the internal USB HUB. I was first worried about powering the keyboard - but in the end I decided it was easier to just use the small AAA batteries as a permanent power for it.
To mount the keyboard - which was a wedge shape, took some thinking about. In the end I cut a piece of foamex to fit flush with the top of the flight case and lay the keyboard on top of it and traced the shape of the keyboard onto the board.
I then carefully cut the shape of the keyboard out, and lay the outer board and the keyboard face down on the table. This would mean that the keys of the keyboard would be flush with the foam board. You can then see below that I put the internal piece of foamex onto the back of the keyboard, and carefully built up the sides with a glue gun and more offcuts of foamex:
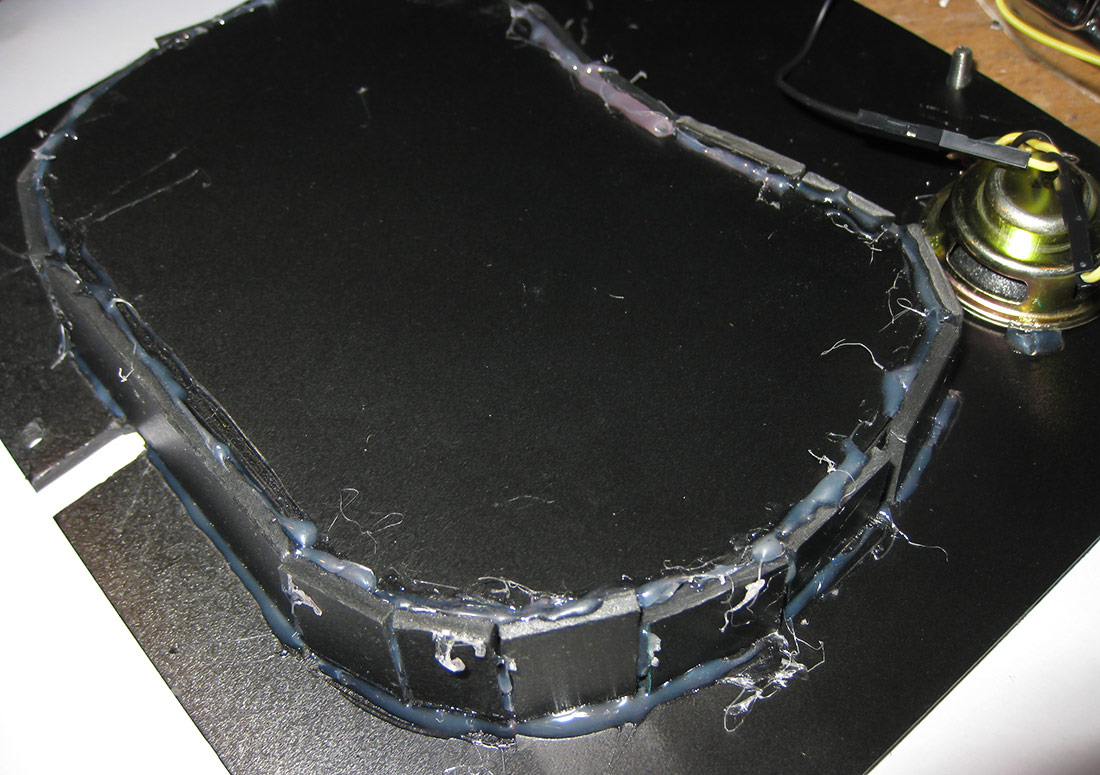
Although this looks a mess from the inside - the keyboard fits beautifully into this custom designed recess from the other side.
I am really pleased with this solution.
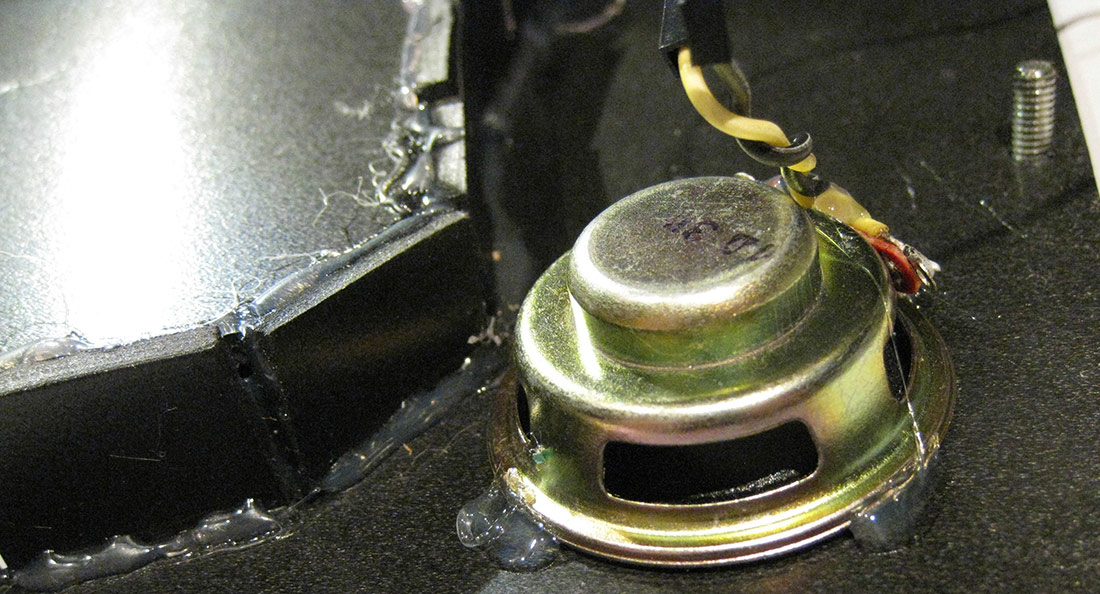
The final job was to add sound. For this I would use a small USB powered mushroom speaker which I dismantled.
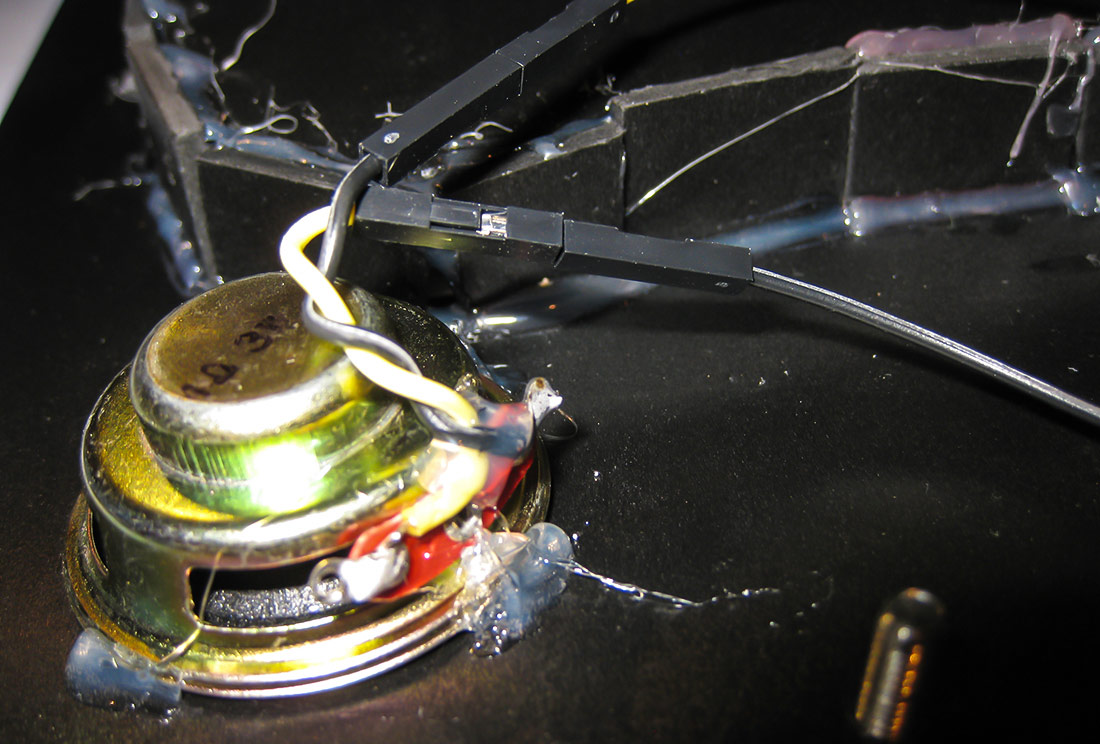
I carefully cut some sound holes out of the keyboard mounting board I had just created. And I glued the speaker to it as you can see below.
I want to be able to swap out component so I wasn’t too happy about gluing this in, but used some jumper cables to make some small connectors between the amplifier and the speaker to make it a bit easier to disconnect this if I needed to:
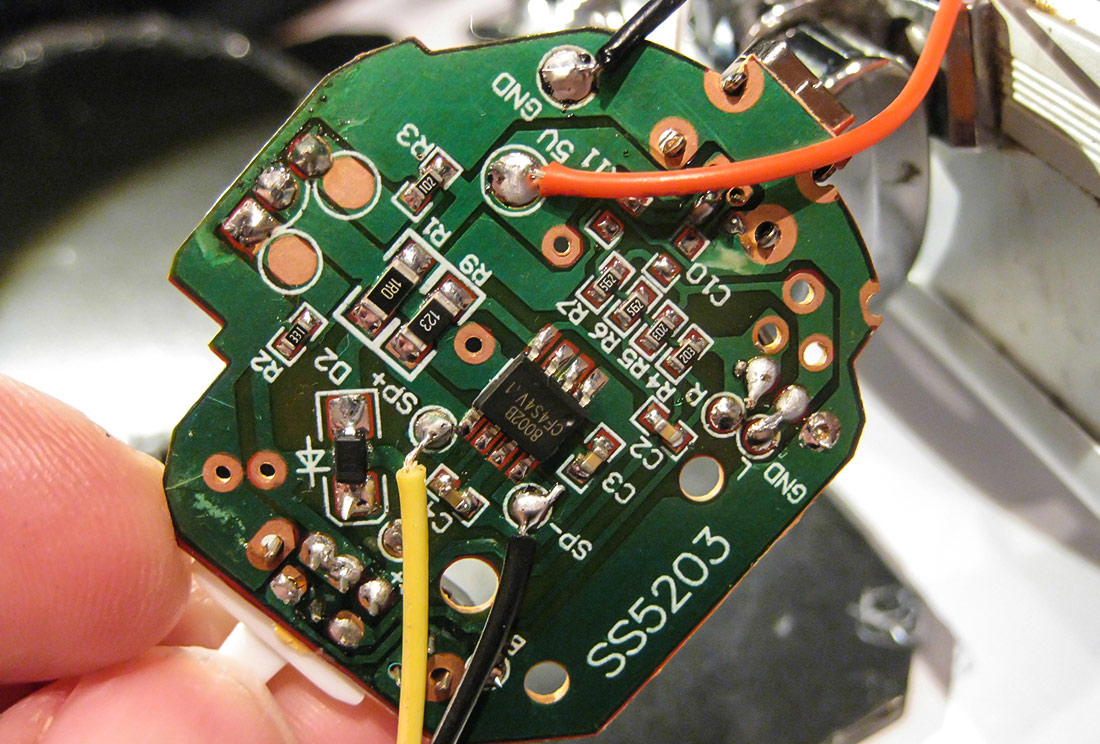
Finally I had to connect the little amplifier board both to power and to the speaker and inputs. The board thankfully was labelled clearly with its connections:
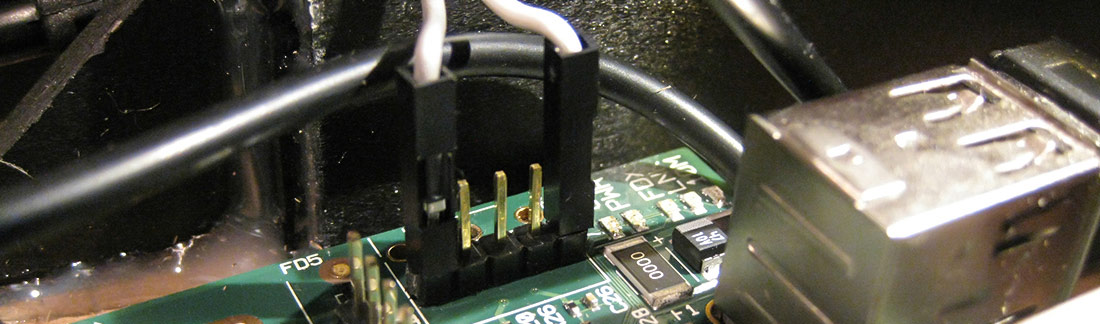
I had previously taken the jack plug off the raspberry Pi so it was a smaller form factor - so to enable me to connect the amplifier board I ended up putting a small header strip on the Pi
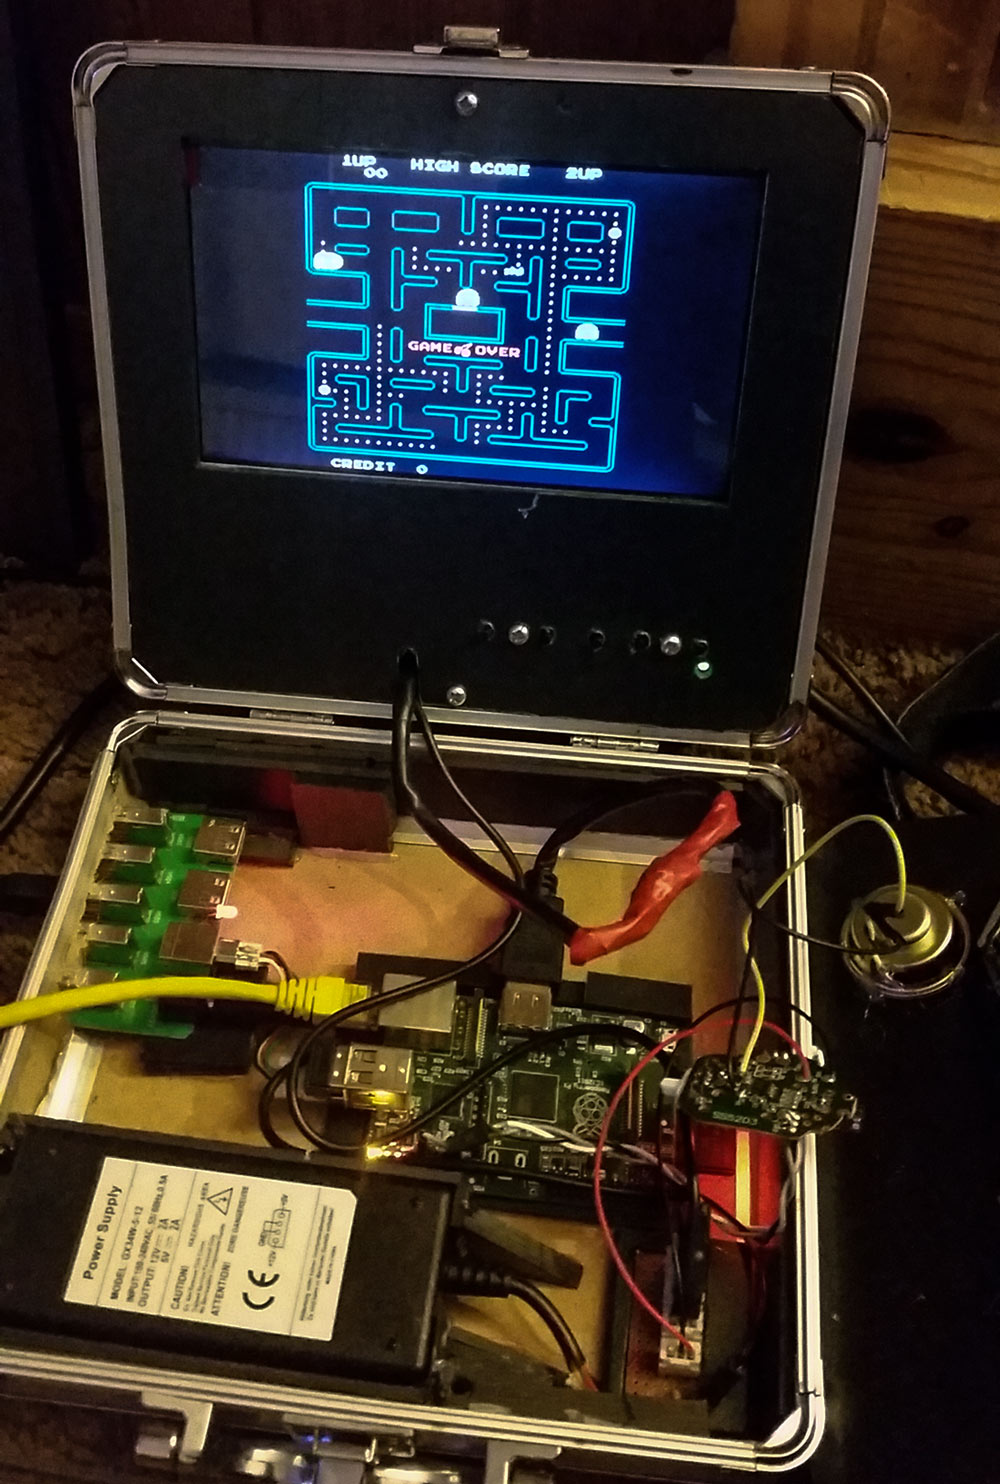
So thats all the parts put together. I think this is approximately everything I have used in this project:
Pi in a Flight case - Bill of Materials
- Flight case
- Plastic 'foamex' foamboard
- 7 port USB HUB
- HDMI Monitor £25
- Power brick (HDD POWER SUPPLY FOR HARD DRIVE MOLEX AC 12V+5V 2A)
- Wifi adaptor
- ethernet extender
- PIi + sd card
- Wireless mini keyboard
- HDMI Lead
- Veroboard
- socket and tail kit (2S JST-XH Connector Adapter Plug With Wire For 2 Cell 7.4V Lipo Battery)
- USB 'hamburger' speaker
- Long Momentary Tactile Switch Push Button Miniature Mini Micro PCB SPST
- Barrel power connector and leads
- USB A-B cable
- miniature USB/Power Plug
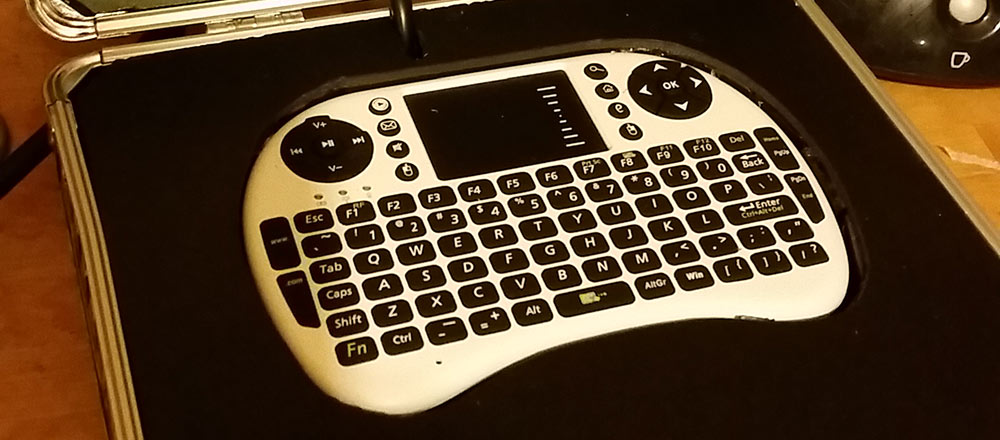
Here are some final photos of the finished product:
What would you have done differently? Have you tried anything similar? Please let me know below.
6-Sep-2015 Add comment
blog comments powered by Disqus Permanent Link